No Monthly Fee Security System Selector
Recommended Security Solution
Key Features:
Estimated Cost:
Why This Is a Great Fit
Security System Types Explained
Self-Monitored Alarm
DIY alarm panel with smartphone alerts and local siren
DIY Camera Kit
Cameras with local SD card storage, no cloud fees
Battery Sensors
Wireless sensors with long battery life and local alerts
Local NVR System
Video storage on-premise with unlimited retention
Smart Door Lock
Keyless entry with local access codes and no cloud fees
When you search for a no monthly fee security system, you probably want the peace of mind that comes with protection without the hassle of a recurring bill. If you’re after a no monthly fee security system, keep reading - we’ll break down every option that lets you keep your home safe while your wallet stays happy.
Types of security solutions that skip the monthly charge
Self‑monitored alarm: a DIY alarm panel that you control through a smartphone app, but you handle alerts yourself.
DIY camera kit: indoor/outdoor cameras that record to a local SD card or a network video recorder (NVR) you own.
Battery‑powered sensor: wireless motion, door/window or glass‑break sensors that run on long‑life batteries and send alerts only to your phone.
Local NVR system: a small server that stores video on‑premise, eliminating cloud subscription fees.
Smart door lock with one‑time setup: you manage access codes locally, no monthly cloud sync required.
Wireless motion detector: a standalone unit that triggers a local alarm siren instead of a cloud alert.
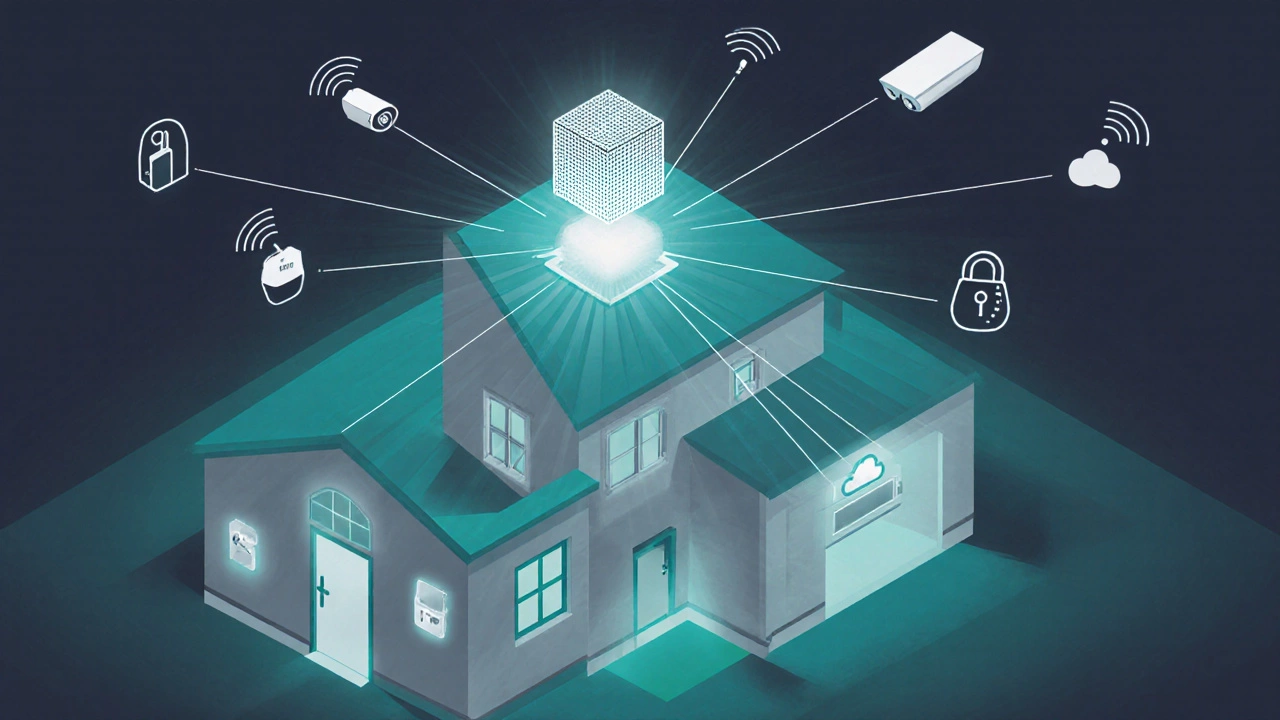
Mesh network hub: a central node that connects all devices on a private Wi‑Fi or Zigbee network, keeping data in‑home.
How self‑monitored alarms work
A self‑monitored alarm typically consists of a control panel, a few wireless sensors, and a battery backup. When a sensor trips, the panel sounds a local siren and pushes a push‑notification to your phone. Because you’re the one receiving the alert, there’s no need for a professional monitoring service.
Key benefits include total control over response actions (you can call a neighbor, a security guard, or the police) and zero recurring fees. The downside is that you must be reachable when an alarm fires - a missed notification could leave a breach unchecked.
Popular DIY brands such as SimpliSafe (with its optional monitoring plan) and Abode (which offers a free self‑monitoring tier) let you buy the hardware outright for $150‑$300 and keep it forever.
DIY camera kits with local storage
If video evidence is important to you, a DIY camera kit can do the job without a cloud subscription. Most kits include 2‑4 cameras, a power supply, and a micro‑SD card slot or an NVR box.
These cameras record in 1080p or 4K to an SD card that you can swap out monthly. Because the footage never leaves your home network, you avoid monthly cloud fees and eliminate privacy concerns.
When choosing a kit, look for the following specs:
- Night‑vision range of at least 30feet.
- Wide‑angle lens (110°-130°) for broad coverage.
- IP66 or higher rating for outdoor durability.
- Standalone app that works over local Wi‑Fi without requiring an external server.
Brands like Reolink, Amcrest and EZVIZ sell ready‑to‑install bundles for $120‑$250, and the only ongoing cost is a spare micro‑SD card every few months.

Battery‑powered sensors and motion detectors
For entry‑point protection, battery‑powered sensor units are a solid choice. They attach to doors, windows, or glass panels and last 2‑5years on a single AA or CR123 battery.
When a sensor detects opening or vibration, it sends a Bluetooth Low Energy (BLE) or Zigbee signal to your hub, which then flashes a LED or sounds a siren. Because the data never travels to a cloud server, you escape monthly fees entirely.
Pairing them with a wireless motion detector adds coverage for hallways or garages where a door sensor isn’t practical. Motion detectors typically use PIR (Passive Infrared) technology and can be set to ignore pets up to 20lb.
Offline NVR (Network Video Recorder) systems
An local NVR system stores video from multiple IP cameras on a hard drive inside your house. The NVR runs on a small PC‑style box or a dedicated NAS (Network‑Attached Storage) unit.
Because recordings stay on‑premise, you keep a full archive without paying a monthly storage fee. You can still view live or recorded footage remotely via a secure VPN or the NVR’s built‑in remote access app.
Typical specs to watch for:
- At least 2TB HDD for 30‑day retention of four 1080p streams.
- PoE (Power‑over‑Ethernet) support to power cameras without extra adapters.
- RAID1 or RAID5 for data redundancy.
Starter kits from QNAP, Synology or D-Link start around $350 and can be expanded as your camera count grows.
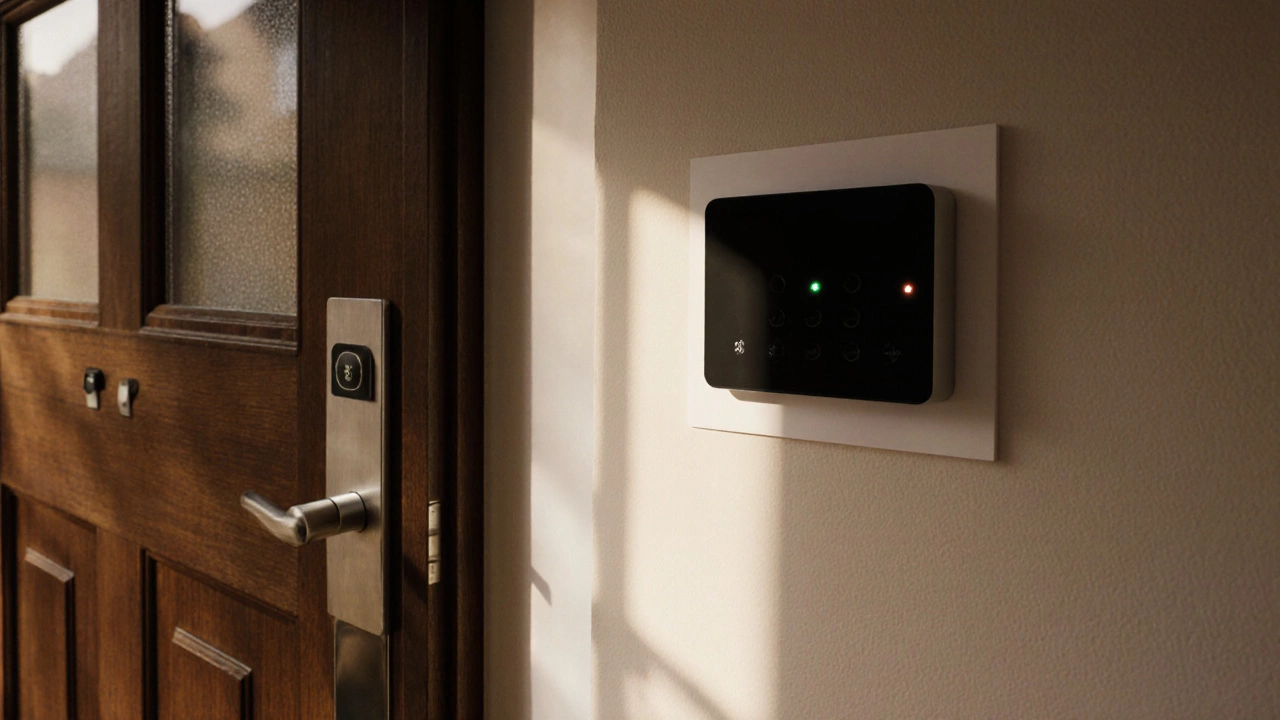
Smart door locks with one‑time setup
A smart door lock that stores keys locally removes the need for cloud‑based user management. You program access codes directly on the lock using a keypad or a Bluetooth‑enabled phone.
These locks usually offer auto‑lock, tamper alerts, and a built‑in alarm. Since everything is stored on the device, there are no subscription fees, and you keep complete control over who can enter.
Models such as the AugustWi‑Fi Smart Lock (when set to local mode) or the Yale Assure Lock 2 can be bought for $150‑$250 and will work for years with a simple battery change.
Choosing the right no‑fee system - a quick checklist
- What do you need to protect? Doors & windows, interior spaces, or just the front door?
- Do you want video? If yes, decide between SD‑card cameras or an NVR.
- How much DIY work can you handle? Self‑monitored alarms and sensor hubs need basic wiring or app setup.
- Is internet reliability a concern? Offline NVRs and local sirens keep working even if your ISP goes down.
- What’s your budget for upfront costs? Expect $100‑$300 for basic sensor kits, $200‑$500 for camera bundles, $350+ for full NVR setups.
Comparison of popular no‑fee security options
| Solution | Typical Up‑front Cost | Installation | Monitoring Method | Pros | Cons |
|---|---|---|---|---|---|
| Self‑monitored alarm | $150‑$300 | DIY, plug‑in panel, attach sensors | Phone push‑notifications | Full control, no subscriptions | Relies on you to respond |
| DIY camera kit (SD‑card) | $120‑$250 | Mount cameras, insert SD card | Local storage, optional remote app | Video evidence, privacy | Limited retention, need card swaps |
| Battery‑powered sensors | $80‑$180 | Stick‑on or screw‑in, no wiring | App alerts, local siren | Easy DIY, long battery life | Range limited to hub distance |
| Local NVR system | $350‑$700 | Run Ethernet, connect PoE cameras | On‑premise storage, VPN access | Unlimited video retention, no cloud fees | Higher upfront cost, more setup |
| Smart door lock (local mode) | $150‑$250 | Replace deadbolt, program codes | On‑device alerts, Bluetooth access | Keyless entry, no recurring fees | Battery change every 1‑2years |
Common pitfalls and how to avoid them
Pitfall 1: Forgetting to replace batteries. Even the longest‑lasting sensors need a swap after a few years. Set a calendar reminder for the month your battery is due.
Pitfall 2: Relying solely on Wi‑Fi for cameras. If your router crashes, you lose live view. Pair cameras with Ethernet (PoE) or use a dedicated mesh hub to keep the link stable.
Pitfall 3: Over‑complicating the system. Adding too many devices can create signal interference. Keep the network simple: one hub, a few sensors, and a camera pair per zone.
Pitfall 4: Ignoring firmware updates. Even offline devices receive security patches. Schedule a quarterly check on the manufacturer’s app to apply any updates.
Next steps - getting your no‑fee system up and running
- Make a list of entry points and high‑traffic rooms you want covered.
- Choose a core solution (alarm, cameras, or lock) that matches your list.
- Buy the hardware from a reputable retailer; keep receipts for warranty.
- Follow the manufacturer’s quick‑start guide - most devices snap into place with a few screws.
- Test each sensor or camera by triggering it once; confirm you receive a phone alert or see the video feed.
- Set up a backup power source (UPS) for the NVR or hub if power outages are common in your area.
- Document passwords and serial numbers in a secure password manager.
Frequently Asked Questions
Can I really avoid any fees forever?
Yes, as long as you stick to devices that store data locally and you handle alerts yourself. The only recurring cost may be optional cloud backup, but it’s not required for the system to function.
What’s the average lifespan of a battery‑powered sensor?
Most AA‑type sensors last 2‑5years, while lithium CR123 units can reach up to 7years. Environmental factors like temperature can shorten that life.
Do local NVR systems need an internet connection?
No. The NVR records to its internal drives regardless of internet. You only need a network connection if you want remote viewing via a VPN or the vendor’s app.
Are DIY alarms as reliable as professional ones?
Reliability depends on battery health and sensor placement. When installed correctly, DIY alarms trigger as fast as wired professional panels, but you must respond to alerts yourself.
Do smart locks work without a smartphone?
Most local‑mode smart locks still have a physical keypad. You can program numeric codes that work even if your phone battery dies.