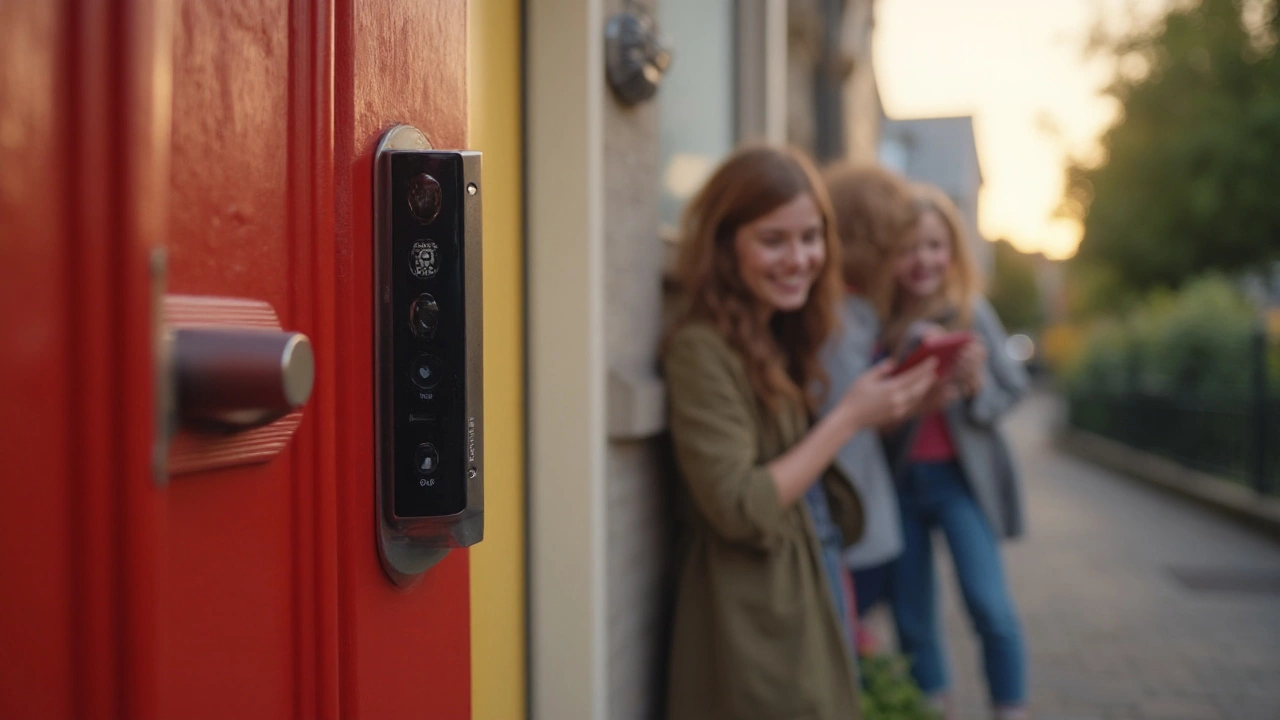
Thinking about upgrading your front porch with a video doorbell? You’re not alone. Homeowners are swapping plain buzzers for cameras that show you who’s at the door on your phone. In this guide we’ll break down the key features, discuss the biggest brands, and give you a simple install plan so you can start watching right away.
First off, ditch the fancy jargon and focus on what really makes a video doorbell useful. Look for a clear 1080p (or higher) video feed, night‑vision LEDs, and a wide field of view – at least 150°. Motion detection should be smart enough to ignore passing cars or pets, otherwise you’ll end up with endless alerts. If you want to keep footage without paying a monthly fee, pick a model that supports local storage or offers a generous free cloud tier.
Battery life is another practical concern. Wired units draw power from your existing doorbell wiring and never need a recharge, while battery‑powered models give you flexibility but require periodic charging. Choose what fits your wiring situation and how often you’re ok with swapping batteries.
Brands like Ring, Nest, and the newer Roku Doorbell dominate the market. Ring doorbells often ask about subscription fees – the free tier gives live view, but cloud video storage starts at a monthly cost. The Roku Doorbell is similar; it has a basic free plan, but advanced features need a subscription. If you’re budget‑tight, the Eufy video doorbell offers local storage with no ongoing fees. Remember to factor in any extra hardware, such as a chime plug‑in, that may be needed for a smooth install.
Security‑wise, make sure the doorbell uses encrypted Wi‑Fi (WPA2 or newer) and lets you set two‑factor authentication on the app. This blocks the kind of hacks that can let strangers view your feed. Also, consider a mounting kit that hides the wiring and makes the unit harder to steal – many thieves target Ring units, so adding a tamper‑proof bracket can save you trouble.
Now, let’s talk installation. Most video doorbells follow the same three‑step process: turn off power, connect the wires (or attach the battery), and mount the unit with the supplied screws. If you’re not comfortable working with electricity, hiring an electrician is a safe bet, especially for wired models. For battery‑only units, you can skip the wiring step entirely and just secure the base to the wall.
After it’s up, download the companion app, follow the on‑screen pairing steps, and adjust your motion zones. Test the night‑vision by looking at the feed after dark – you should see a clear picture, not a fuzzy silhouette. If the view is spotty, try repositioning the unit or adding an external IR light.
Finally, think about future upgrades. Many systems let you add extra cameras or integrate with smart locks, so pick a platform that aligns with your long‑term smart‑home plans. That way, today’s video doorbell becomes the hub for a wider security network.
Bottom line: the best video doorbell for you balances image quality, storage options, and price while fitting your wiring setup. Use the checklist above, read a few recent reviews, and you’ll be able to pick a model that gives you peace of mind without surprise fees.

Curious about which doorbell security system actually works best in real life? Here's the inside scoop on top video doorbells, real user tips, and how to pick the smartest one for your home.

Looking for the best wireless video doorbell in the UK? We break down the top models, real-life features, and smart home compatibility right here.