Thinking about adding cameras around your garden, driveway or front door? You’re not alone – most homeowners want extra eyes on their property without breaking the bank. This guide walks you through everything you need to know to get an outdoor CCTV system up and running, whether you’re a DIY enthusiast or prefer to call in the pros.
First thing’s first: placement. Start by mapping the most vulnerable spots – entrances, windows at ground level, and any blind spots that a burglar could use. Position the lens high enough (about 8‑10 feet) to stay out of reach but low enough to capture faces. Aim the camera at the source of light (like a street lamp) so the subject is well lit and the camera’s night‑vision LEDs don’t glare back.
Don’t forget the corners. A wide‑angle lens can cover a whole side of the house, but you might need a second unit for a tighter view of a side gate or garden shed. Overlapping fields of view ensure you don’t miss anything if one camera gets blocked.
Most outdoor cameras run on either PoE (Power over Ethernet) or a separate power cable. PoE is tidy – one cable does both data and power – but you’ll need a PoE switch or injector. If you’re using a Wi‑Fi camera, place the router or a range extender close enough to avoid signal dropouts.
Backup power is a must. A small UPS (uninterruptible power supply) or a solar‑powered battery pack keeps the camera recording during outages, which is especially important if you rely on live alerts. Check the camera’s voltage rating before you connect it to avoid blowing a fuse.
When you run cables, use outdoor‑rated, UV‑protected conduit. Bury the conduit a few inches deep or mount it behind siding to protect it from weather and tampering. Seal any entry points with silicone sealant to keep water out.
If you’re not comfortable with wiring, hiring a certified installer from Total Security Solutions guarantees a clean, code‑compliant job. Professionals also handle the surge protection and guarantee the system works with your existing alarm or monitoring service.
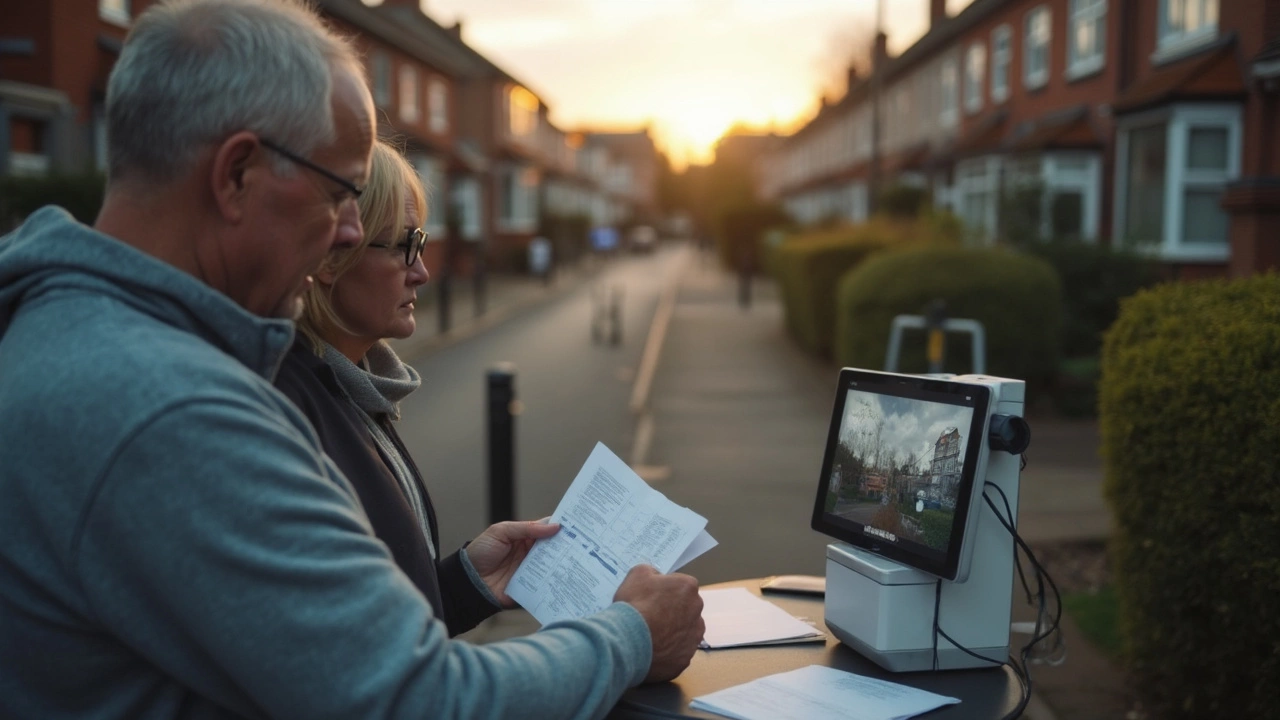
Finally, set up the software. Most cameras come with an app that lets you view footage on your phone, set motion zones, and adjust brightness. Enable notifications for motion at night and test the live feed from each angle before you finish.
With the right placement, power backup, and connectivity, your outdoor CCTV will give you peace of mind without a lot of hassle. Remember to check local privacy laws – avoid pointing cameras at neighbors’ windows or public walkways. A quick glance at the UK’s CCTV guidelines can save you legal headaches later.
Now you’ve got the basics, it’s time to choose the gear that fits your budget and start protecting what matters most. Whether you DIY or enlist a pro, a well‑installed outdoor CCTV system is one of the smartest upgrades you can make for home security.
Thinking about setting up CCTV outside your house? This guide explains what you need to know before you start drilling holes and mounting cameras. Learn about the legal stuff, what systems actually cost, and practical tips for an easy install. There’s a lot more to consider than just pointing a camera at your driveway. This article breaks it all down in plain language, so you avoid common mistakes and useless expenses.