Ever wonder why your camera looks great in the daytime but turns into a blurry mess after sunset? The answer lies in the type and direction of light around your property. Small lighting changes can make a huge difference in what your cameras actually see, and they can also affect how visible your security lights are to potential intruders. Let’s break down the most common lighting scenarios so you can stop guessing and start securing.
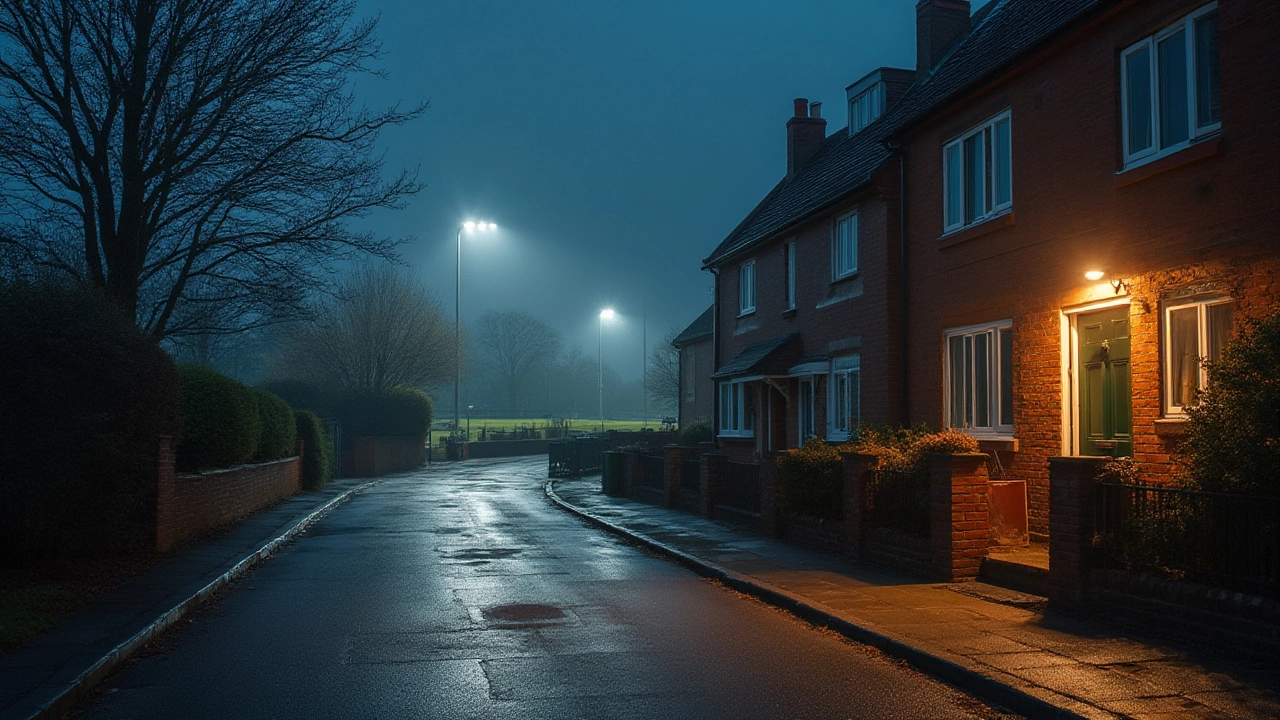
Ambient street light. This is the most forgiving light source. When a streetlamp shines on your driveway, cameras usually get enough illumination to capture clear color images. However, if the light is too low or flickers, the camera may switch to night mode, adding grain and reducing detail. Position your cameras so they face the street lamp rather than have it behind them to avoid silhouettes.
LED floodlights. These are great for brightening a specific area, but their harsh glare can cause lens flare. That bright spot can blind the sensor and create a dark ring around the light source. Using a shielded or angled floodlight helps the camera see the whole zone without a glare hotspot.
Infrared (IR) illumination. Most night‑vision cameras have built‑in IR LEDs that emit invisible light. In total darkness, the IR helps the sensor produce a black‑and‑white image. If you add external IR spotlights, make sure they’re aimed at the camera’s field of view; otherwise, you’ll get a useless glow that doesn’t improve the picture.
Moonlight and natural night sky. On clear nights, moonlight can act like a soft, diffuse source. It’s not strong enough for color detail, but it can boost a camera’s low‑light performance. If you rely only on moonlight, expect grainier footage and consider adding a low‑power LED to fill the gaps.
First, map out the area you want to watch and note where shadows fall at different times of day. Place lights at a 45‑degree angle to the camera to reduce back‑lighting and eliminate silhouettes. This positioning also helps motion sensors avoid false alarms caused by sudden darkness.
Second, choose the right height. Security lights mounted too low get easily tampered with; too high and the light spreads too far, wasting energy and creating glare. A height of 8‑10 feet works well for most front‑yard setups, providing enough coverage while staying out of reach.
Third, match the light colour temperature to your camera’s sensor. Most modern security cameras are calibrated for neutral white (around 4000‑5000K). Warm yellow lights can make colours look off and may trigger night‑vision mode prematurely.
Finally, think about power backup. During a blackout, a camera without electricity stops recording unless it has a battery or solar backup. Pairing your lights with a UPS or using solar‑powered floodlights keeps the area lit and the camera active when it matters most.
By understanding how different lighting conditions affect both visibility and camera performance, you can pick the right fixtures, place them smartly, and avoid the common pitfalls that leave gaps in your security. Your home will look brighter, feel safer, and the footage you get will actually be useful when you need it.
Floodlights and security lights might seem the same, but they're designed for different jobs. Here’s how they really differ, with all the facts and tips you need.