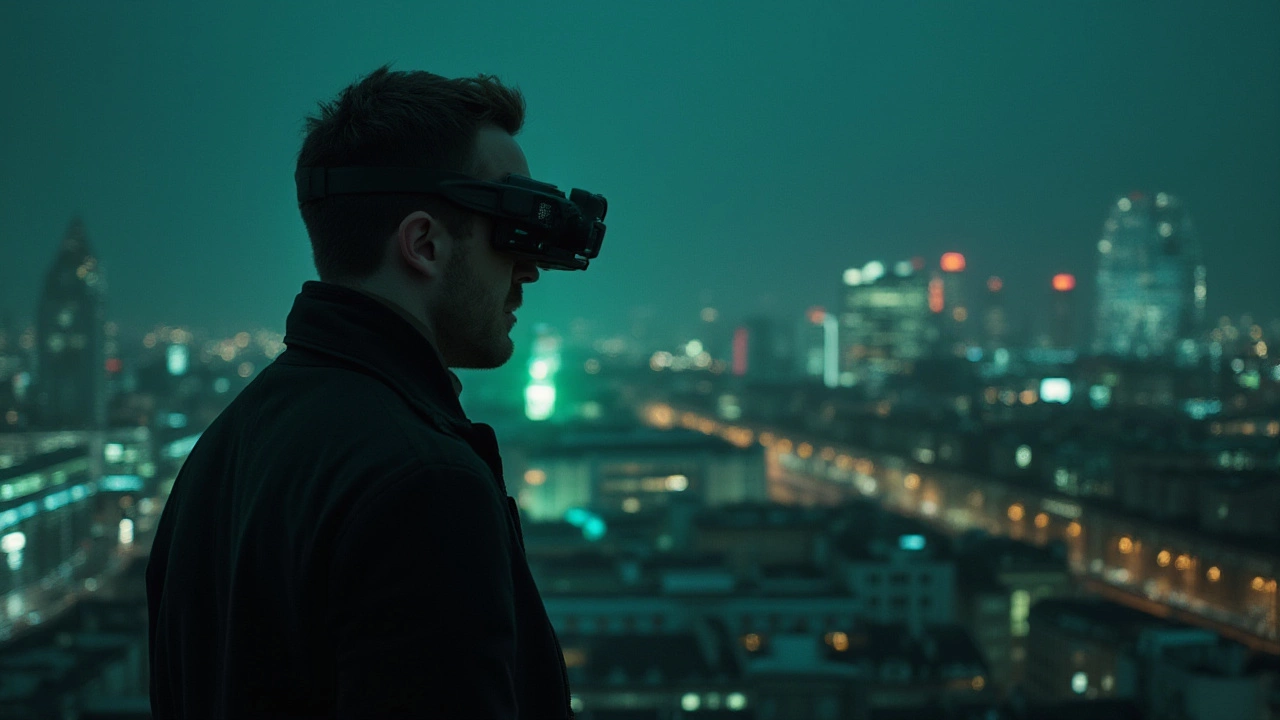
If you’ve ever watched a security feed turn into a blurry mess after sunset, you know why night vision matters. A night vision device lets you see clearly when the sun goes down, using infrared light, thermal imaging, or a mix of both. The result is a sharper picture of anything moving around your home, whether it’s a stray cat or an intruder. In short, it gives you eyes that don’t need daylight.
Most night vision cameras rely on infrared (IR) LEDs. These LEDs emit light that’s invisible to the human eye but easy for the camera sensor to pick up. The sensor then translates that IR glow into a black‑and‑white image, which looks crisp even in total darkness. Thermal cameras work differently – they detect heat instead of light. Hot objects, like a person or a car, stand out against cooler backgrounds, so you can spot activity in fog, rain, or total blackness.
Some modern units combine both methods. They switch to IR when there’s a little ambient light, then jump to thermal if the scene gets too dark or weather gets rough. This hybrid approach gives you reliable coverage in almost any condition.
First, decide where the camera will live. Indoor spots need a compact, discreet look and may not need weatherproofing. Outdoor locations demand a waterproof housing, a wider IR range, and perhaps a built‑in spotlight to deter trespassers.
Next, think about power. Wired cameras draw power from the house’s electricity, giving you endless uptime but requiring some installation work. Battery‑run models are easy to mount, but you’ll need to replace or recharge them every few months. Solar‑powered options exist for places with good sun exposure, cutting down on maintenance.Resolution matters, too. A 1080p sensor captures fine detail, which can help you identify faces or licence plates. If you’re only after motion alerts, 720p may be enough and will save storage space.
Don’t forget integration. Most night vision devices talk to popular apps, letting you view live feeds on your phone. Some even link straight into home‑automation hubs, so you can arm your system or turn on lights with a single tap.
Finally, set a budget. You can find basic IR cameras for under £50, but reliable outdoor units with good range and weather protection usually start around £150. If you need thermal imaging, expect to pay a few hundred pounds more. Balance cost against the area you need to cover and the level of detail you want.
When you install the camera, aim it where it can see the most activity – entry doors, driveways, and dark corners. Avoid pointing it directly at bright lights, as this can flare the sensor. Test the view at night using the app and adjust the angle until you get a clear picture.
Regular maintenance keeps performance high. Clean the lens every few weeks, check that the IR LEDs aren’t blocked, and make sure firmware updates are applied. A little upkeep prevents blurry footage and extends the device’s life.
With the right night vision device, you’ll have peace of mind that your home stays protected after dark. Use the tips above to match the technology to your needs, and you’ll be ready to catch anything that moves when the lights go out.
Get the inside scoop on the best night vision for security in 2025. Find out what works, what matters, and why good night vision is a game-changer.