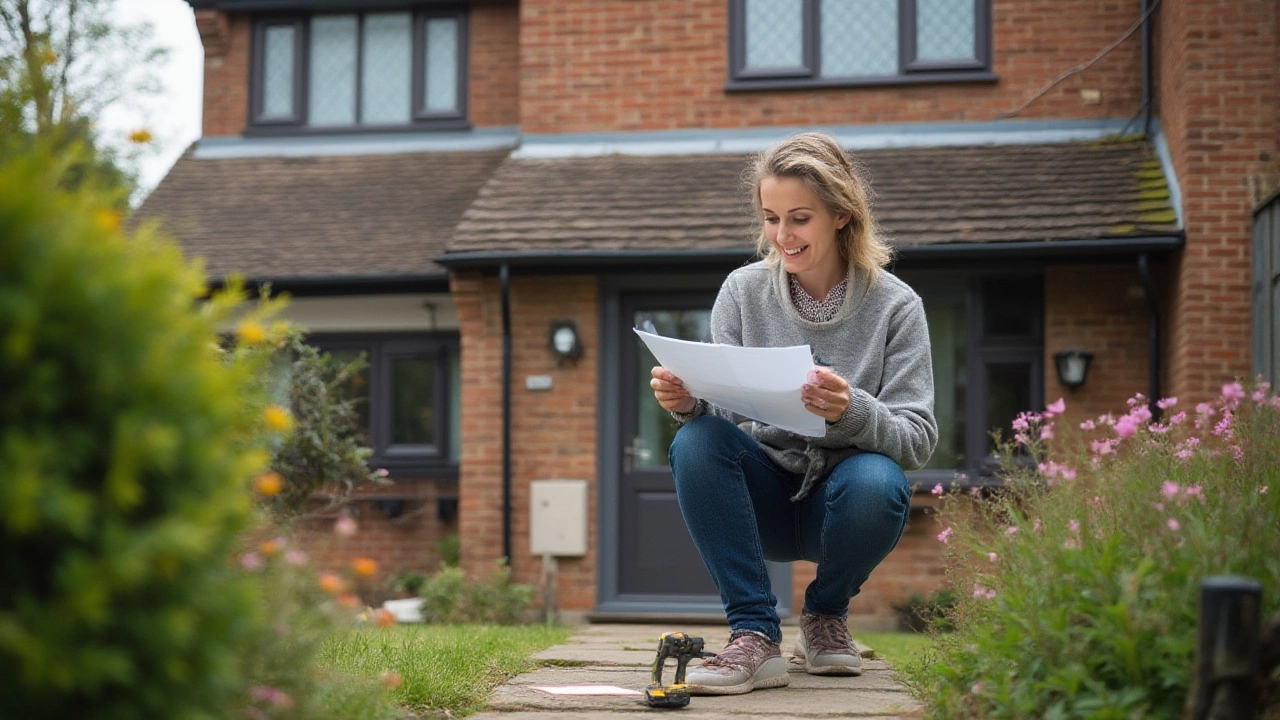
If you’ve just bought a Ring Doorbell, you’re probably wondering how to get it up and running without a headache. The good news? It only takes a few tools, a stable Wi‑Fi signal, and a bit of patience. In this guide we’ll walk you through everything from prepping the door frame to linking the device with the Ring app. By the end you’ll have a live video feed, motion alerts, and peace of mind.
First, gather the basics: a drill with the right bit (most Ring kits include a 4 mm drill bit), a screwdriver, a level, and the mounting bracket that comes in the box. Make sure you have a power source nearby – the Ring Doorbell runs on a rechargeable battery, but many users prefer a hard‑wired connection for continuous power. Check that your home Wi‑Fi is 2.4 GHz and has a strong signal at the front door; a weak connection will cause laggy video and missed alerts. Finally, download the Ring app on your smartphone and create an account if you haven’t already.
1. Charge the battery. Plug the battery into a USB charger and let it reach 100 % before you start. This avoids interruptions while you’re mounting the device.
2. Set up the mounting bracket. Hold the bracket up to the door frame and use the level to make sure it’s straight. Mark the drill holes with a pencil, then remove the bracket.
3. Drill and secure. Drill the pilot holes, insert the wall anchors, and screw the bracket into place. It should feel solid but not over‑tightened – you’ll need room for the doorbell’s faceplate to sit flush.
4. Attach the Doorbell. Slide the Ring Doorbell onto the bracket until you hear a click. If you’re wiring it, turn off power at the breaker, connect the existing doorbell wires to the Ring’s terminals (red to red, black to black), and then turn the power back on.
5. Power on and test. Press the setup button on the front of the Ring. The light ring will spin and the device will announce that it’s ready for Wi‑Fi.
6. Connect to Wi‑Fi. Open the Ring app, tap “Set Up a Device,” and follow the on‑screen prompts. When asked, select your home network and enter the password. The app will confirm a successful connection.
7. Position the camera. Use the app’s live view to adjust the angle. Make sure the faceplate covers the motion sensor and that the field of view includes the walkway you want to watch.
8. Fine‑tune settings. In the app you can set motion zones, adjust alert sensitivity, and choose whether recordings go to the cloud or stay on the local battery. For UK users, check the subscription options – basic motion alerts are free, but video storage beyond five days needs a Ring Protect plan.
9. Test the system. Press the doorbell button and watch the live feed on your phone. Walk in front of the sensor to confirm motion alerts fire correctly. If anything feels off, revisit the camera angle or Wi‑Fi signal strength.
That’s it – you’ve installed a Ring Doorbell that works right out of the box. Remember to keep the battery charged (or keep it wired) and periodically check the firmware updates in the app. A well‑maintained Ring will give you clear video, timely alerts, and the confidence that you’re not missing anyone at your doorstep.

Find out if you really need an electrician to fit a Ring Doorbell in the UK. Get practical advice, step-by-step tips, and safety info right here!