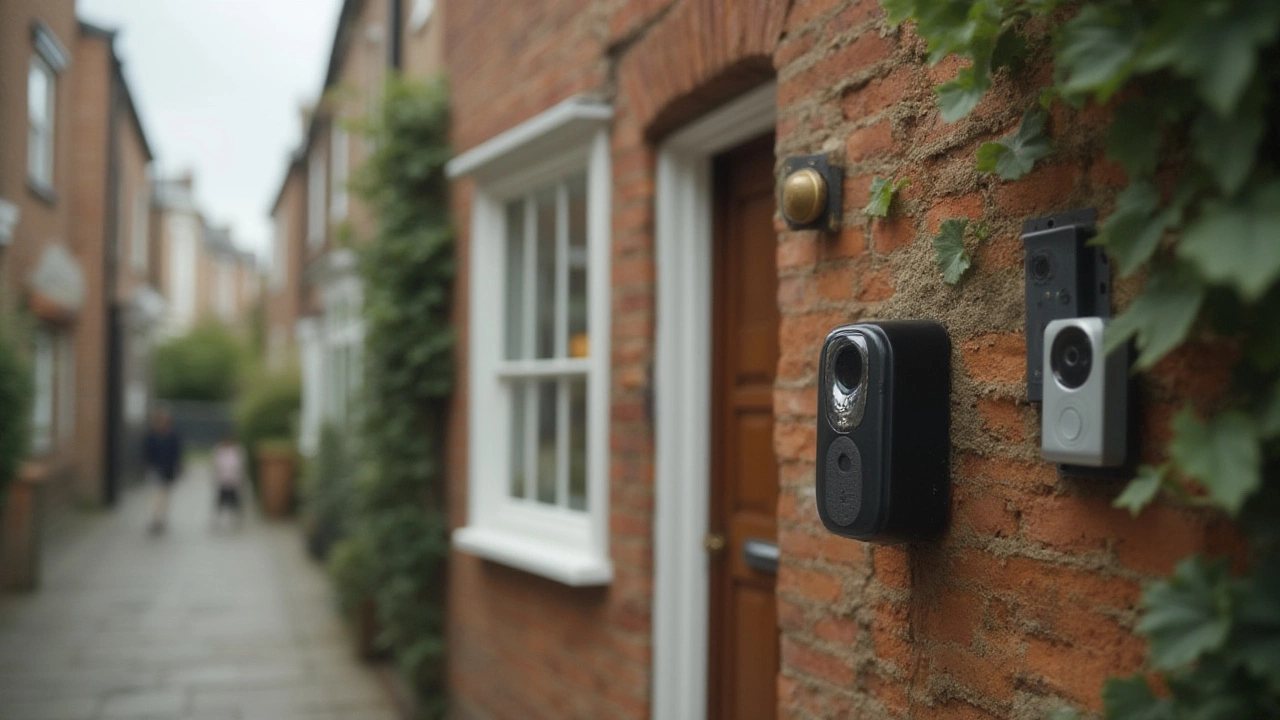
If you’re hunting for a doorbell that won’t quit on you, a wired model is worth a look. Unlike battery‑run or Wi‑Fi units, wired doorbells draw power straight from your house’s electricity, so you never have to chase a dead battery or worry about signal drops. That steady power makes them a solid partner for any security setup, especially if you want a video doorbell that records consistently.
Wired doorbells also tend to be cheaper in the long run. You pay once for the hardware and the installation, then you’re good to go. No monthly fees for power or hidden costs for extra batteries. For homeowners who prefer a hands‑off approach, the simplicity of a hard‑wired system can be a real relief.
First off, reliability. When your front door rings, you want the alert to come through instantly. With a wired connection, there’s no lag caused by a weak Wi‑Fi signal, and you won’t miss a visitor because the battery died. Second, video quality. Wired video doorbells can support higher resolution streams because they’re not limited by battery life or data caps. That means clearer footage of anyone at your door, day or night.
Security is another big win. A wired doorbell is harder for a thief to disable. They’d need to cut the power or mess with the wiring, which is more effort than smacking a battery‑powered unit. Many wired models also include built‑in chime boxes, so you hear the ring inside without needing a separate speaker.
Lastly, integration. If you already have a wired alarm system, adding a doorbell that runs on the same circuit can simplify wiring and keep everything tidy. Most wired doorbells work with popular smart home hubs, letting you see the video feed on your phone, set motion alerts, or even lock the door remotely.
Installing a wired doorbell is a doable DIY job for most homeowners, but safety comes first. Turn off the power at the breaker before you start. Then, remove the old doorbell and note where the two wires are attached – usually a red (hot) and a black (neutral) lead.
Next, connect the new doorbell’s wires to the matching terminals. Tighten the screws so the connections are solid, then mount the unit on the wall using the provided screws. If the doorbell includes a separate video module, you’ll need to run a short low‑voltage cable from the main unit to the camera location, often near the top of the doorframe.
Once everything’s wired, turn the power back on and test the chime and video feed. Most modern wired doorbells have an app you can download to configure motion zones, notification settings, and any smart home links. Follow the on‑screen prompts, and you should be set.
If you’re not comfortable working with electricity, hiring a qualified electrician is a smart move. They’ll make sure the wiring meets local codes and can help you hide any extra cables for a clean look.
In short, a wired doorbell gives you steady power, better video, and fewer headaches over time. Whether you’re upgrading an old system or installing a fresh security hub, the wired option is a reliable foundation that keeps your front door under watch without the hassle of batteries or spotty Wi‑Fi.

Get clear on the three types of doorbells: wired, wireless, and smart. Discover how they work, their pros and cons, and which one fits your home best.