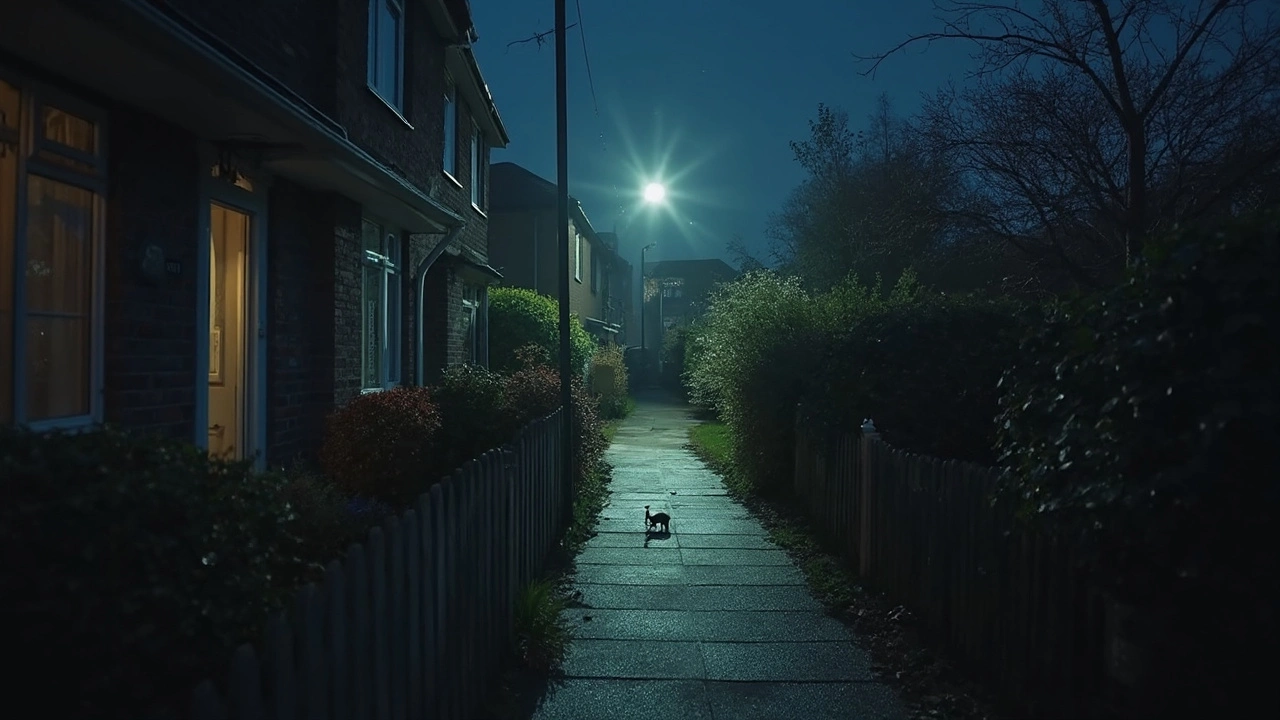
If you’ve ever watched a security camera go dark after sunset, you know how frustrating it can be. That’s where IR (infrared) illuminators come in. They’re essentially invisible light sources that let cameras see in total darkness, giving you clear video even at night. Think of them as the night‑vision glasses for your CCTV system.
Most modern security cameras have a built‑in IR sensor that can pick up light outside the visible spectrum. When you add an IR illuminator, it floods the area with infrared light. The camera’s sensor captures that light and converts it into a black‑and‑white image. The result is a video that looks grainy but still shows movement, faces, and objects clearly enough to tell what’s happening.
Not every IR light will do the job. Here are the key things to look at when you shop:
Range: Measure the distance you need to cover. A 30‑meter illuminator works for a front porch, while a 100‑meter model might be needed for a large warehouse.
Beam Pattern: Spot beams focus the light on a tight area, perfect for a doorway. Flood beams spread light over a wide zone, useful for a garden or parking lot.
Power Source: Some units plug into a wall socket, others run off PoE (Power over Ethernet), and a few are battery‑operated. Pick the one that matches your existing wiring.
Wavelength: Most IR LEDs emit at 850nm or 940nm. The 850nm version gives a faint red glow that’s visible to the eye but provides brighter images. The 940nm type is completely invisible, though the video may be a little darker.
Mounting an IR illuminator is easier than you think. First, locate a spot where the light can cover the area you want to watch without obstruction. Use a sturdy bracket or a simple zip tie if the unit is lightweight. Make sure the wiring is protected from weather – most outdoor models are IP65 rated, but extra sealing never hurts.
If you’re using PoE, you can run a single Ethernet cable from your network switch to the illuminator, which powers it and sends a signal for remote control. For plug‑in models, keep the cord hidden along the wall or in conduit to avoid tripping hazards.
After mounting, test the coverage at night. Walk around the zone and watch the camera feed. Adjust the angle or move the unit if you see dark spots. Most modern illuminators let you tilt the head a few degrees, so fine‑tuning is quick.
Don’t overshoot the range. A powerful 150‑meter illuminator in a small garden wastes energy and may cause glare on the camera lens. Also, avoid placing the light directly in front of the camera’s lens – it can cause an “IR bloom” that looks like a white circle and hides details.
Finally, remember that IR light can be seen by animals, especially nocturnal ones. If you’re protecting a wildlife area, consider a low‑power, invisible 940nm option to minimize disturbance.
With the right IR illuminator, your security system becomes a 24/7 watchdog. You get clear footage, lower false‑alarm rates, and peace of mind knowing that darkness is no longer a blind spot. Pick the right range, beam type, and power source, install it securely, and you’ll have night vision that works exactly when you need it.
If your security camera leaves you staring at blurry blobs and shadows at night, it’s not just you—it's a common struggle. This article breaks down what actually helps night vision cameras see better after dark and clears up some myths. You'll learn how light tricks, smart settings, and some surprising add-ons can sharpen your nighttime footage. Whether you’re tired of guessing if that’s a raccoon or just your neighbor's cat, you’ll find practical fixes right here. Skip the guesswork and get more out of your camera when the sun disappears.