Thinking about adding an outdoor camera? You want something that works in rain, fog, and total darkness, and you don’t want to spend a fortune. This guide walks you through the basics so you can decide fast and get the job done right.
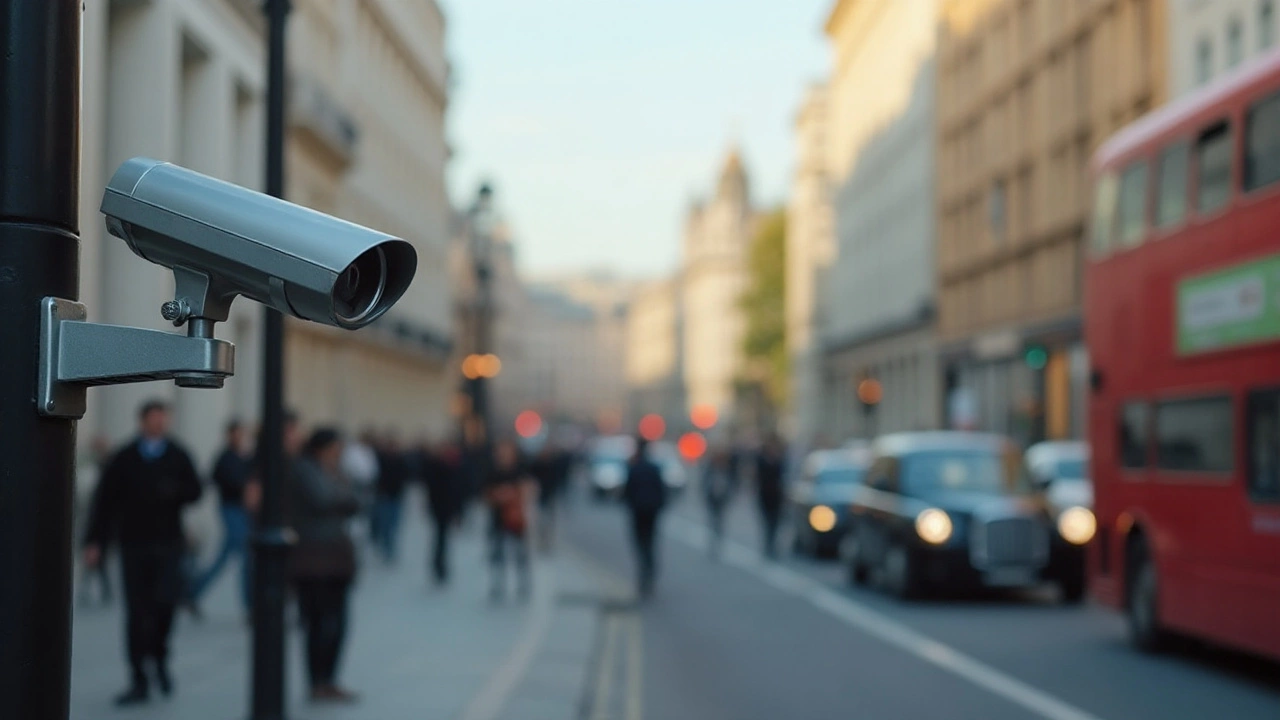
First off, check the weather rating. Look for an IP66 or higher rating – that means dust and heavy rain won’t short the unit out. If you live in a windy area, a sturdy mount is a must; flimsy brackets can wobble and give shaky footage.
Next, think about night vision. Infrared (IR) LEDs give you clear black‑and‑white images after dark, but some cameras also offer color night vision with extra light. For most yards, a 30‑meter IR range is plenty; anything more is overkill unless you have a huge property.
Resolution matters, too. A 1080p camera shows faces and licence plates clearly, while 4K is nice but uses more bandwidth and storage. If your internet connection is limited, stick with 1080p and upgrade later.
Don’t forget field of view. A 120‑degree lens covers a wide area, but you might need a narrower 70‑degree lens for a focused spot like a gate. Some models let you adjust the angle from an app, which is handy for fine‑tuning after install.
Lastly, check the privacy and storage options. Cloud plans are convenient, but they often have monthly fees. Local storage on a microSD card works well if you keep the card in a secure spot and back it up regularly.
Installation is simpler than most think. Most outdoor cameras are wireless – they need power and a Wi‑Fi signal, not a long Ethernet cable. Run a power cable to the nearest socket or use a solar panel kit if you want true cordless setup.
Mount the camera at eye level for adults, or a bit higher if you’re targeting a driveway. Angle it down slightly; that reduces glare from the sky and helps the camera see footprints or wheels.
Run a quick test with your phone app before you tighten the screw. Make sure you get a solid signal – if the Wi‑Fi drops, consider a range extender or a PoE (power‑over‑ethernet) model that can use a wired connection.
Maintenance is mostly about keeping the lens clean. A soft cloth and a little water (no harsh chemicals) will get rid of dust and bird droppings. Check the firmware once a month; manufacturers push updates that fix bugs and improve security.
If you notice fuzzy images at night, add an external IR illuminator or adjust the camera’s settings for more exposure. Most apps let you tweak brightness and contrast on the fly.
Finally, respect privacy laws. In the UK you need to avoid pointing cameras directly at neighbours’ windows or public streets without a legitimate reason. A quick look at the ICO guidelines will keep you safe from complaints.
With the right camera and a few simple steps, you’ll have solid coverage of your garden, driveway, or shop front. That peace of mind is what Total Security Solutions aims to deliver – reliable, affordable outdoor surveillance that actually works when you need it.
Are night vision cameras just as effective during the day as they are at night? This article explores how night vision technology adapts to daylight conditions, including insight into their lenses and sensors, the benefits of using them in broad daylight, and understanding potential limitations. Readers can discover practical tips regarding the optimal usage of these cameras throughout the day and how to maximize their functionality. This guide provides valuable information for anyone interested in enhancing their surveillance systems with versatile camera options.